
Course Tour
Webhannet is an 18-hole par 71 course that plays a surprisingly long 6100 yards from the blue tees. The front nine is a par 35 showcasing three of the toughest par-3's in Maine. Tidal-fed water hazards, strategically-situated white sand traps and bent grass greens with subtle breaks are among the design features that challenge golfers of every skill level.
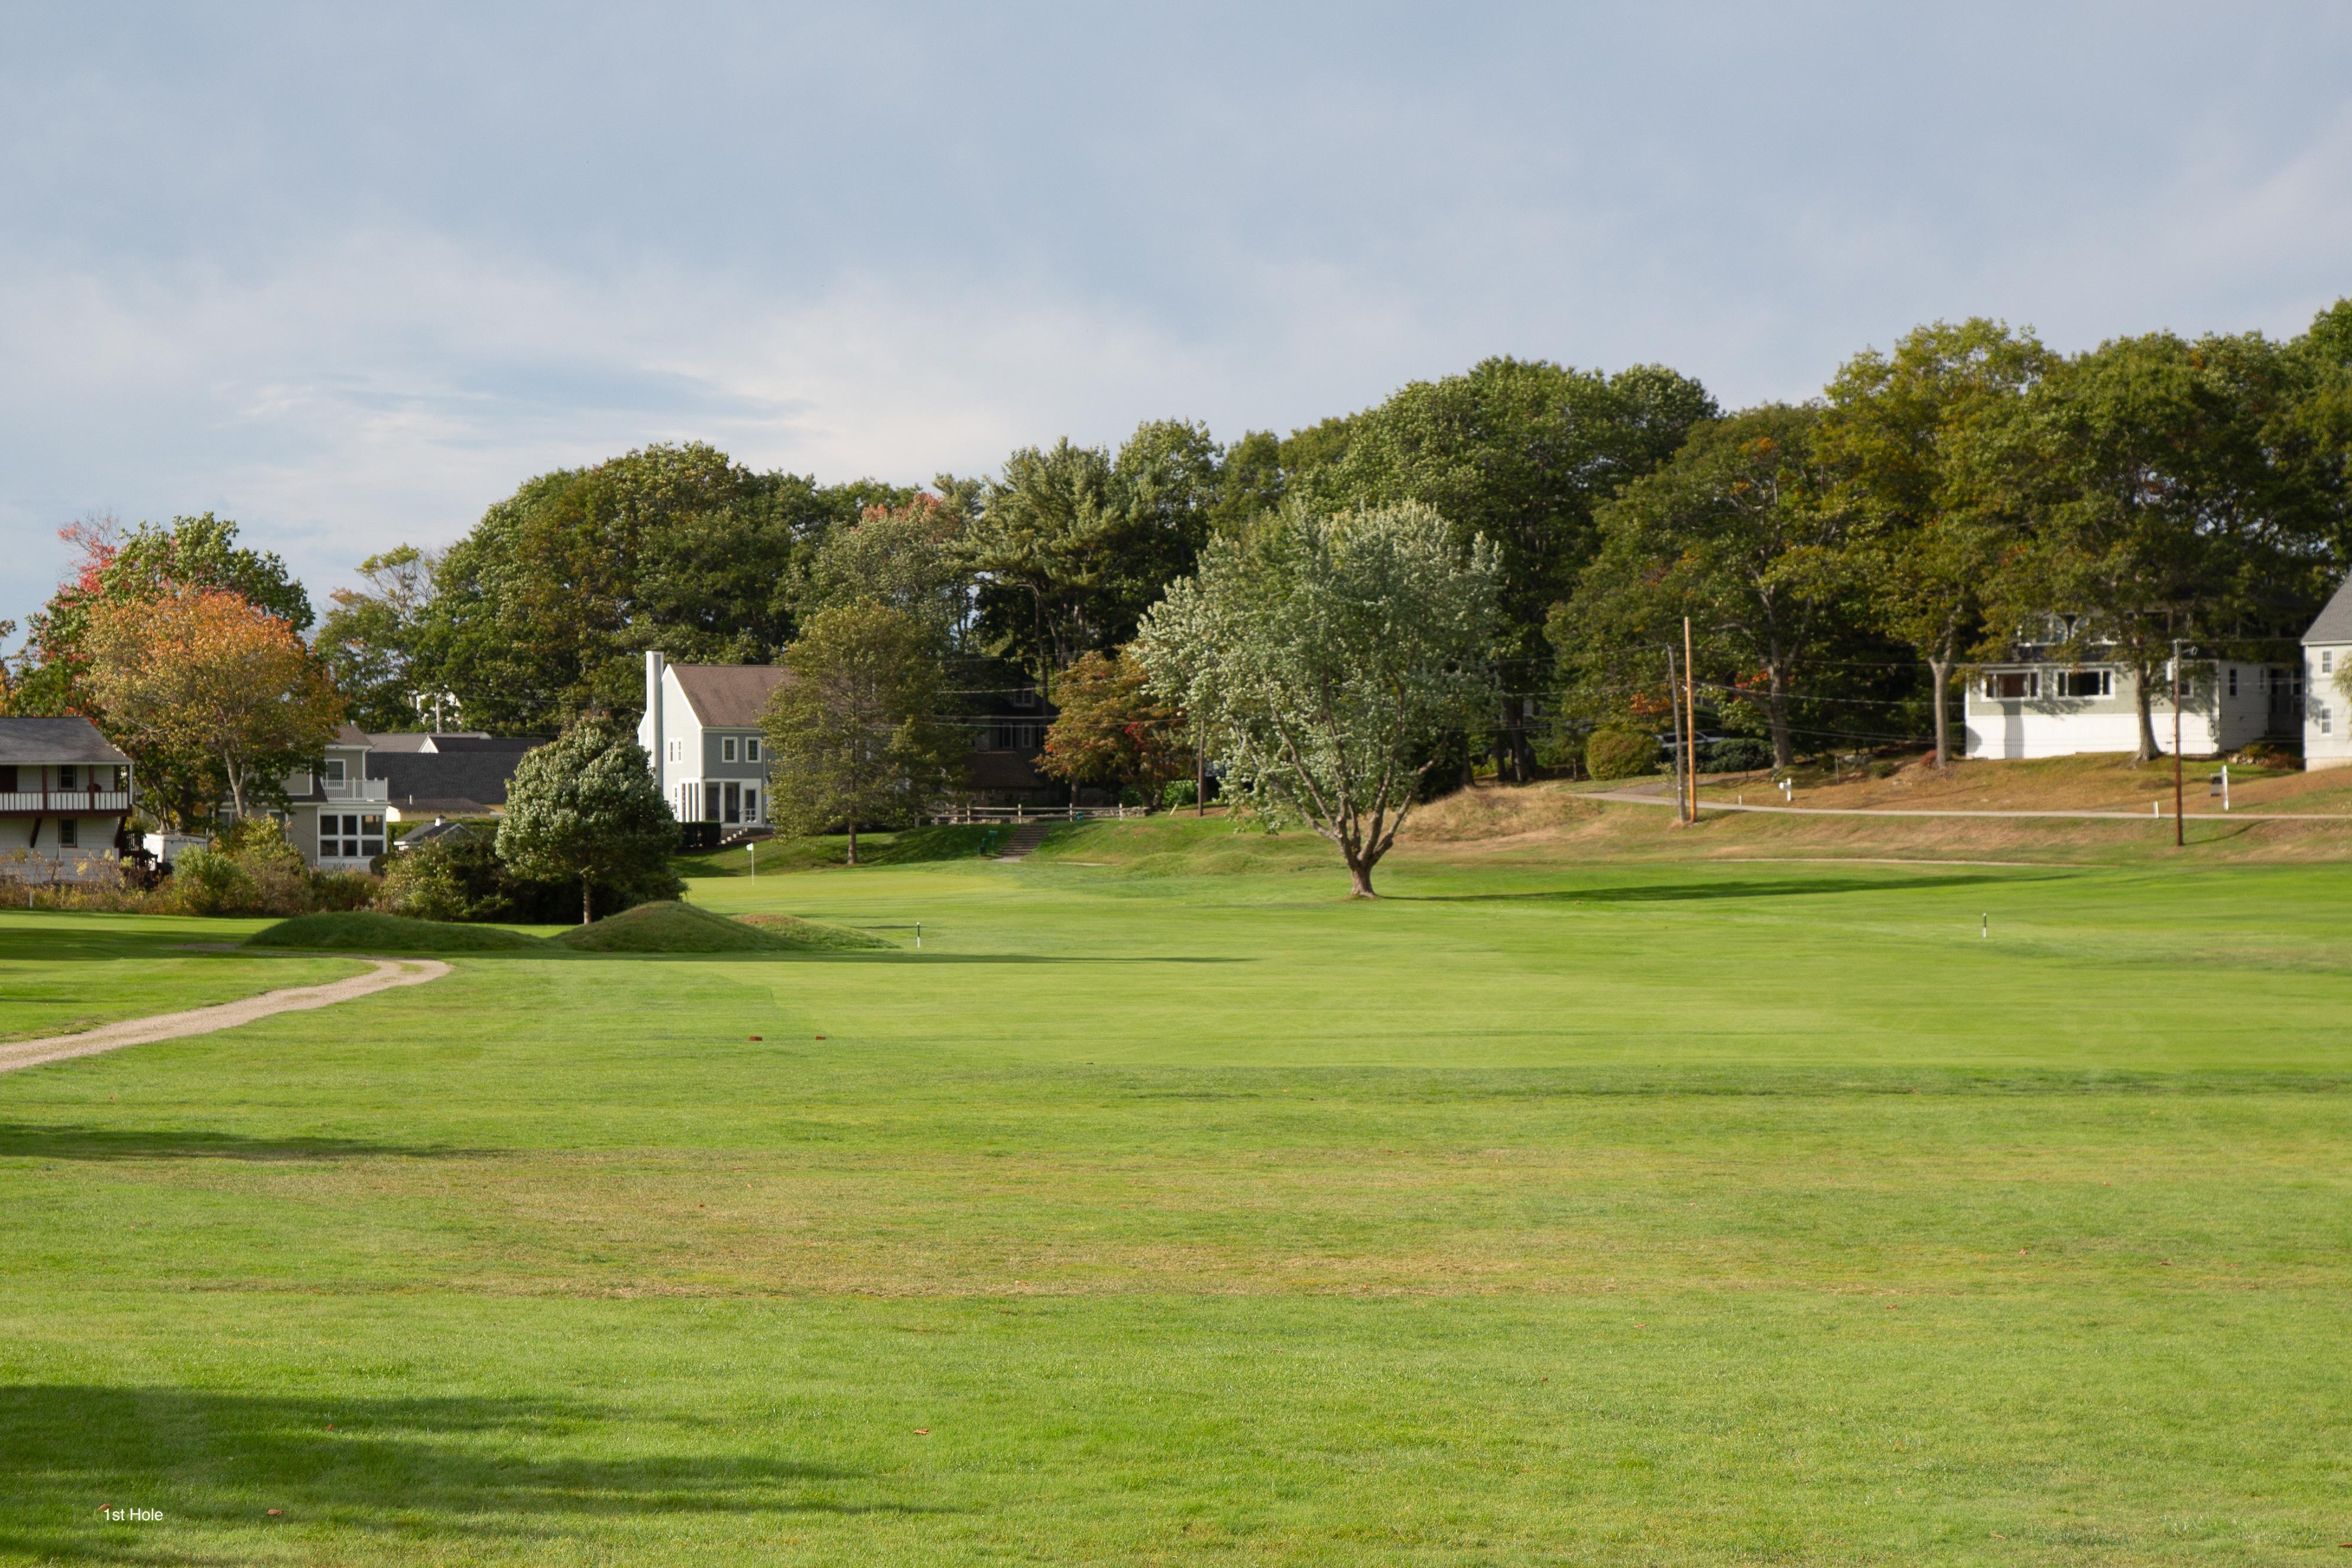
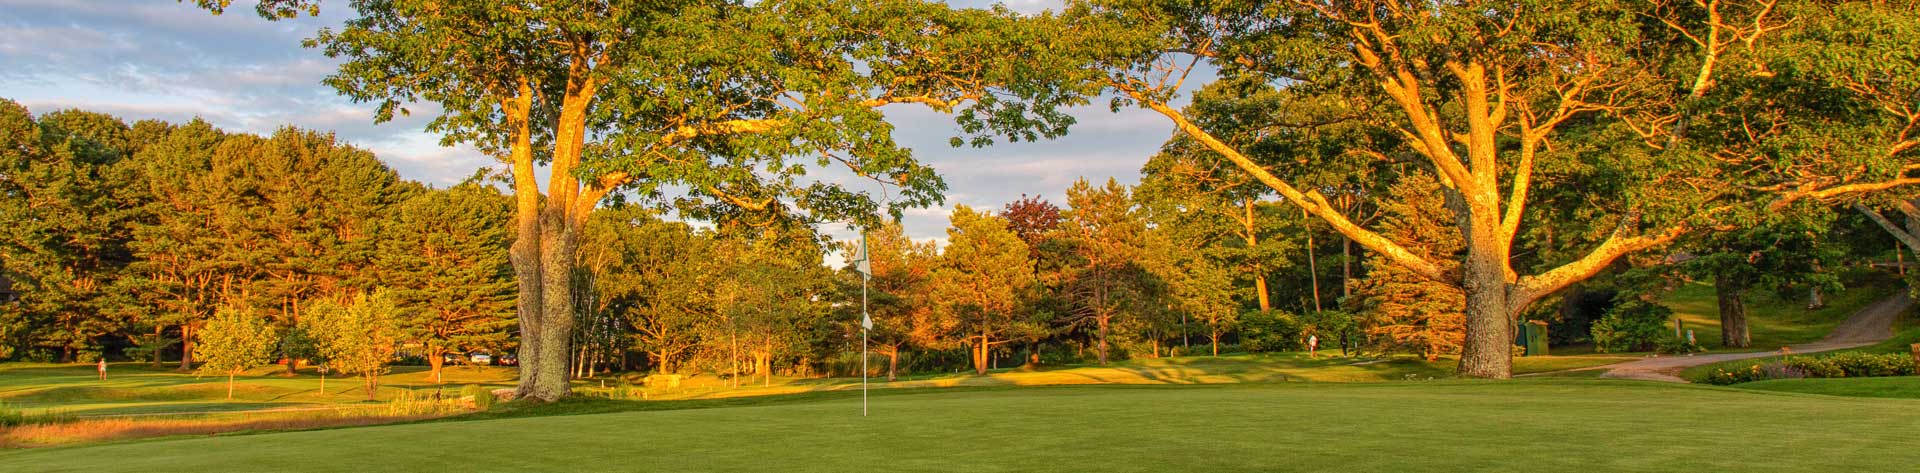
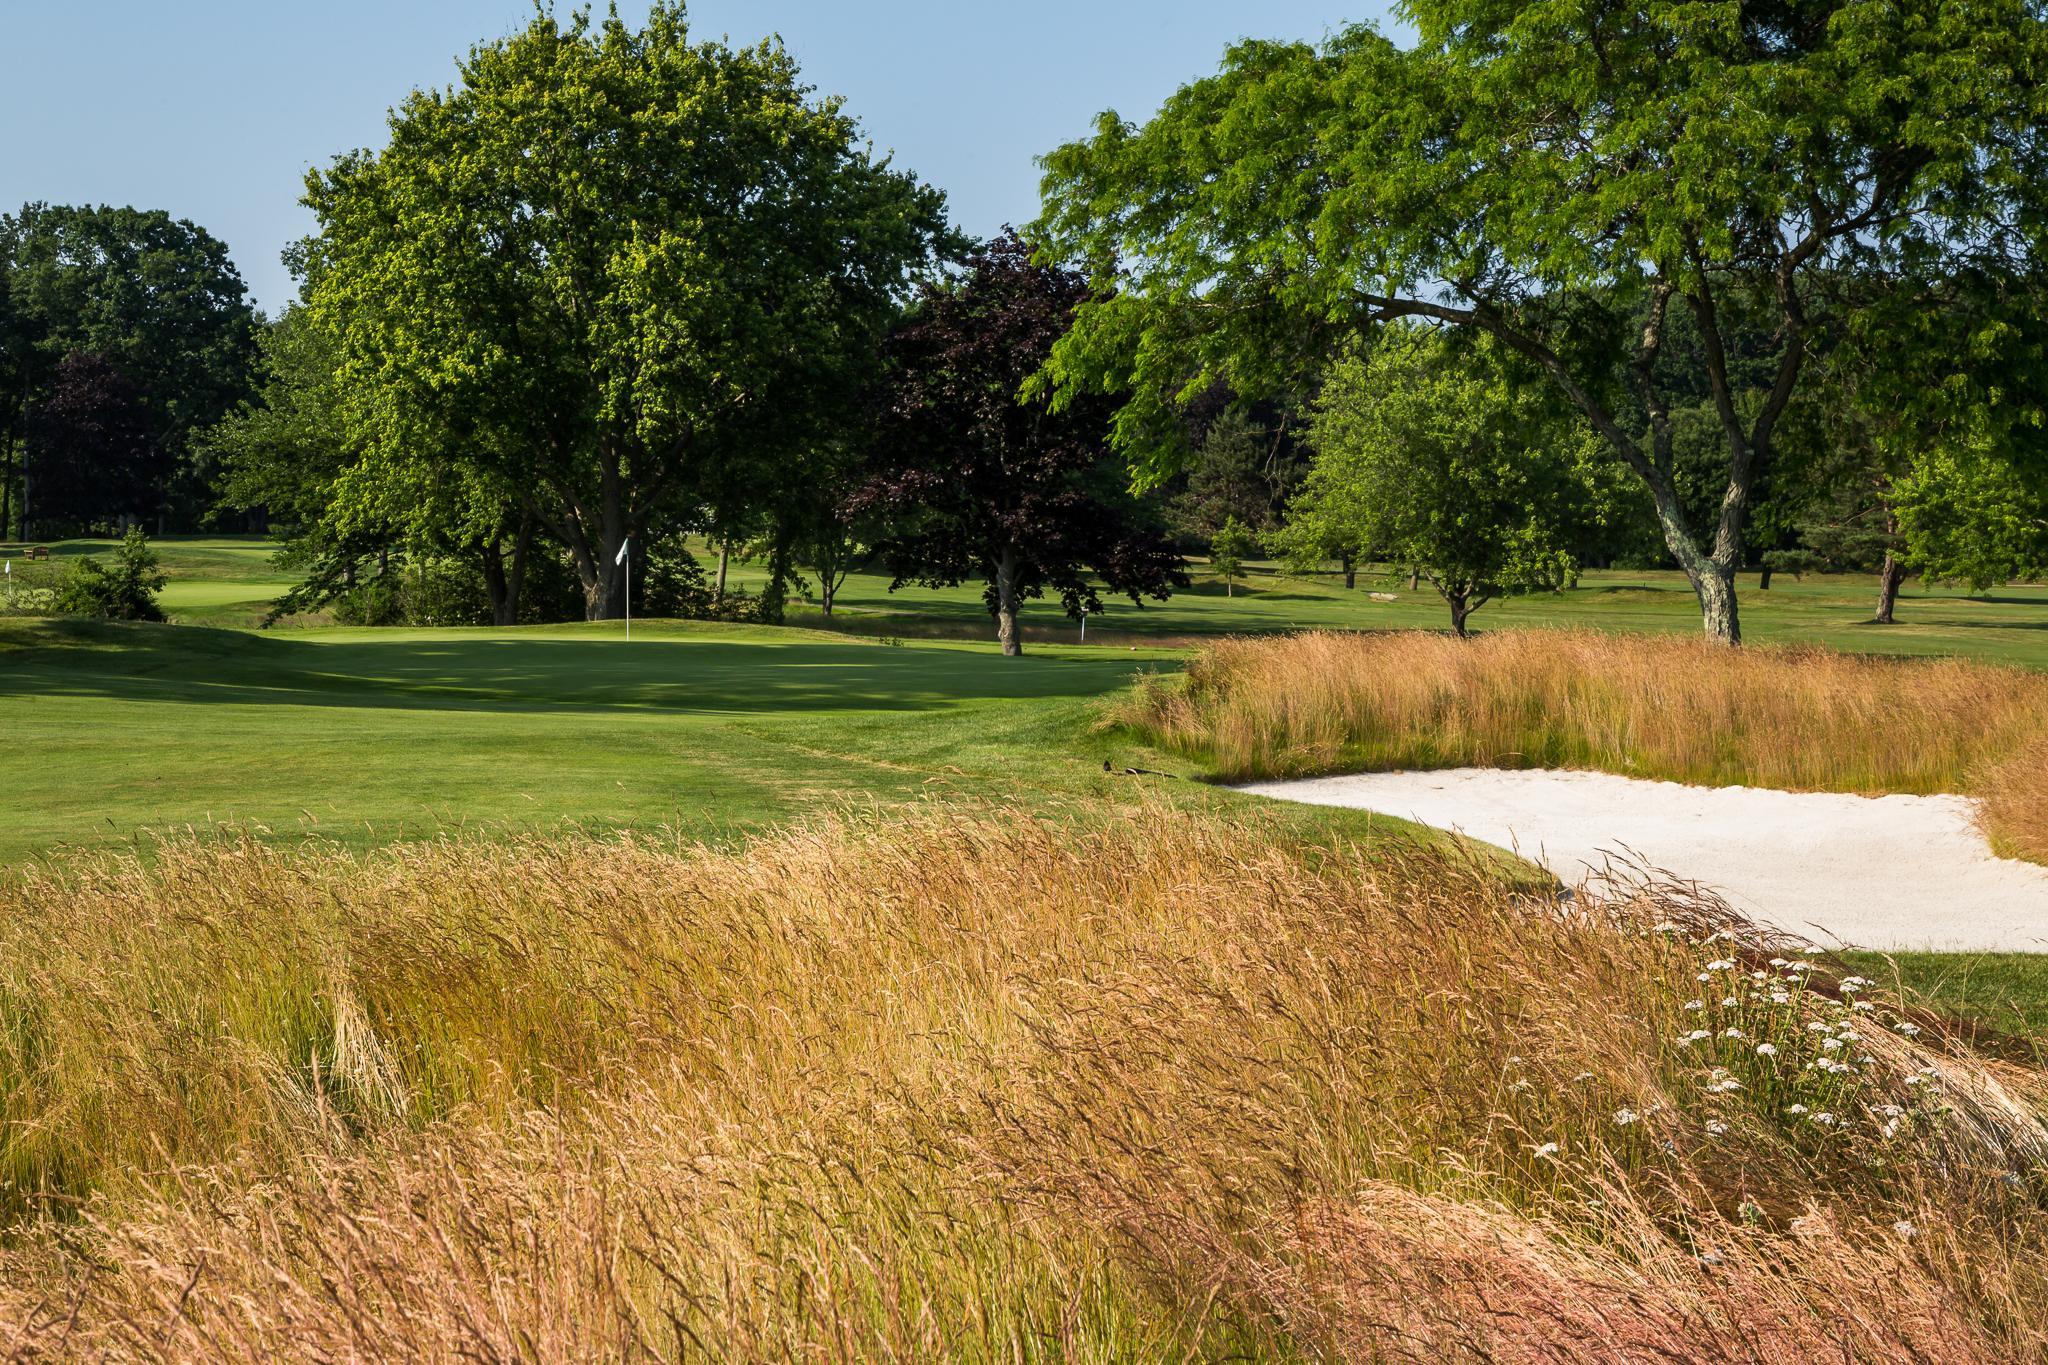
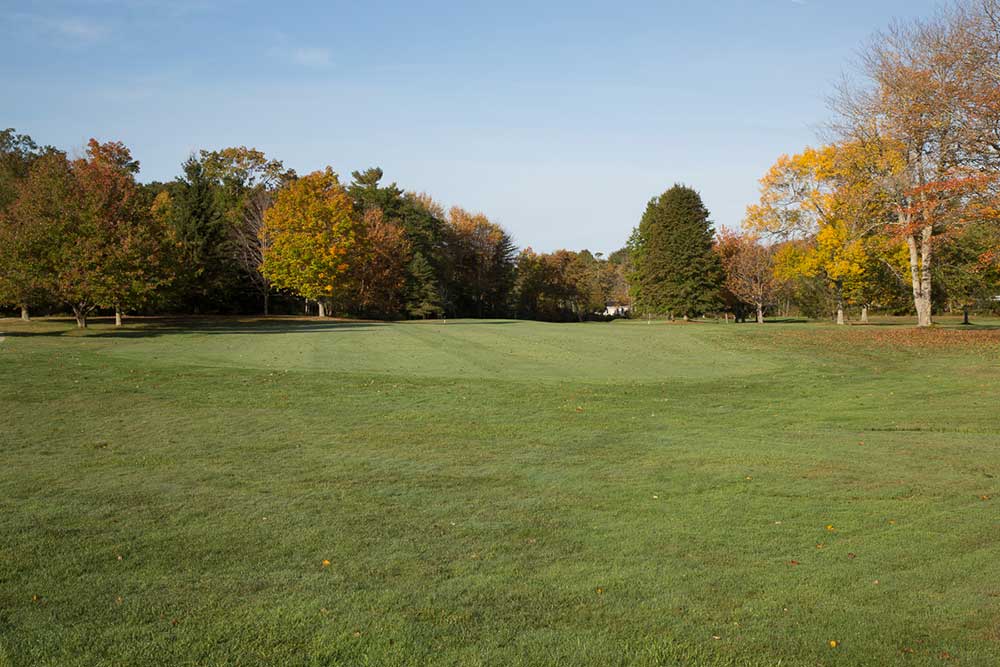
Hole One:
Straightaway
A straight-forward tee shot gets you started. Watch out for grassy mounds on the left and willows on the right. On your approach shot, note that the green slopes right to left.
| Tees | Yards | Par | Handicap |
 Blue Blue
|
377 | 4 | 3 |
 White White
|
367 | 4 | 3 |
 Red Red
|
350 | 4 | 3 |

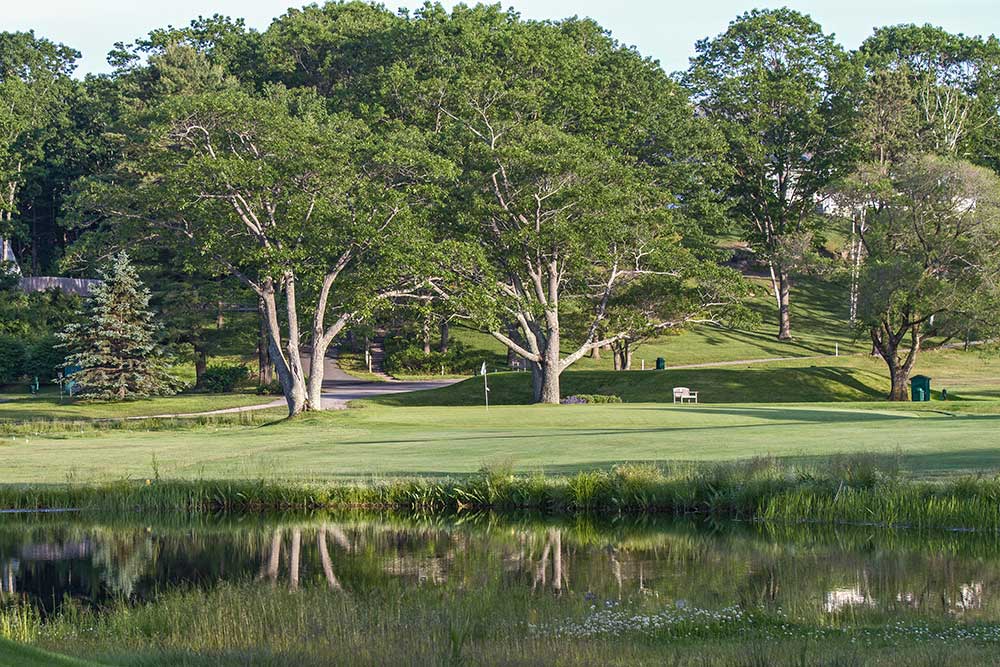
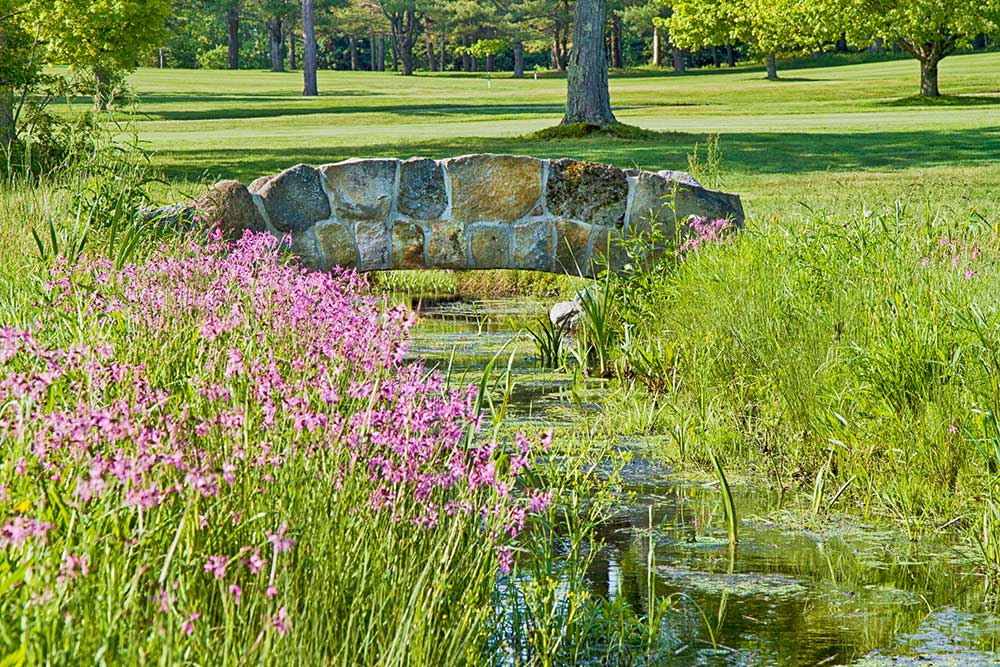
Hole Two:
Burnside
A short dog-leg left with out-of-bounds on the left. Big hitters should be careful not to drive through the fairway on the right. The green is steep back to front, so place your approach shot below the hole.
| Tees | Yards | Par | Handicap |
|
Blue
|
330 | 4 | 7 |
|
White
|
320 | 4 | 7 |
|
Red
|
315 | 4 | 7 |

Hole Three:
Needle's Eye
The longest Par 3 measures 238 yards from the back tee. Over-swinging can put the ball into the left-side hazard. On your shot to the green, note that it generally slopes right to left and can be quite fast. "Short-siding" yourself on this green will make for a difficult up-and-down.
| Tees | Yards | Par | Handicap |
|
Blue
|
238 | 3 | 7 |
|
White
|
225 | 3 | 7 |
|
Red
|
218 | 4 | 17 |
Hole Four:
Lone Tree
The first Par 5 on the front. Straight-forward tee shot but the second shot needs to favor the right side of the fairway. The green is fairly level but has a right to left ridge running down the center.
| Tees | Yards | Par | Handicap |
|
Blue
|
531 | 5 | 1 |
|
White
|
515 | 5 | 1 |
|
Red
|
478 | 5 | 1 |
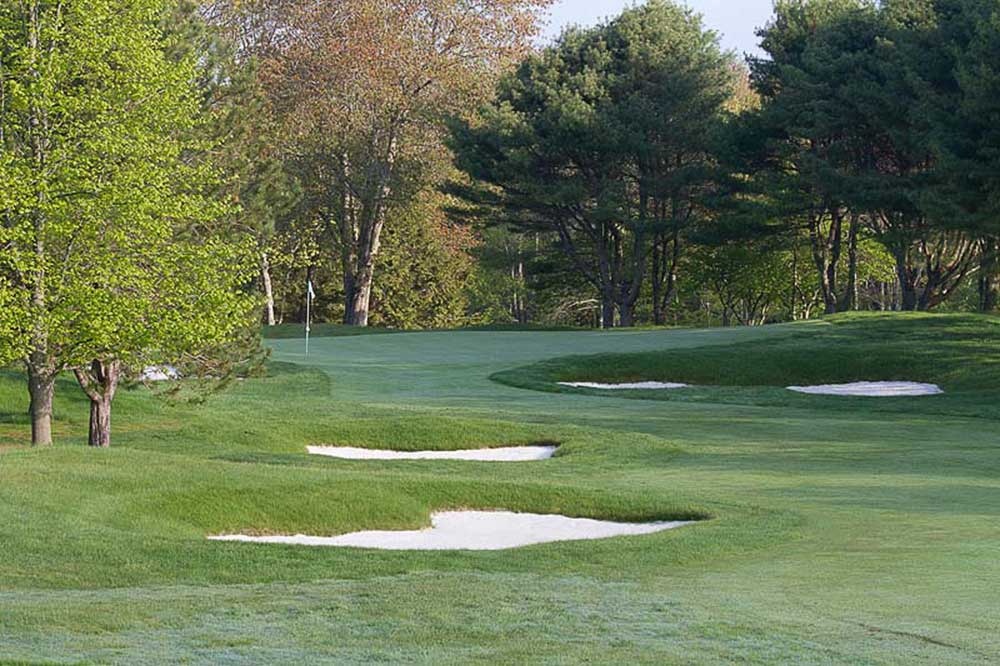
Hole Five:
Oak Knoll
Another lengthy Par 3 -- 178 yards! Greenside bunkers left and right and severaly uphill. Add in the green's false front, and this is a very challenging hole.
| Tees | Yards | Par | Handicap |
|
Blue
|
174 | 3 | 11 |
|
White
|
170 | 3 | 11 |
|
Red
|
164 | 3 | 11 |
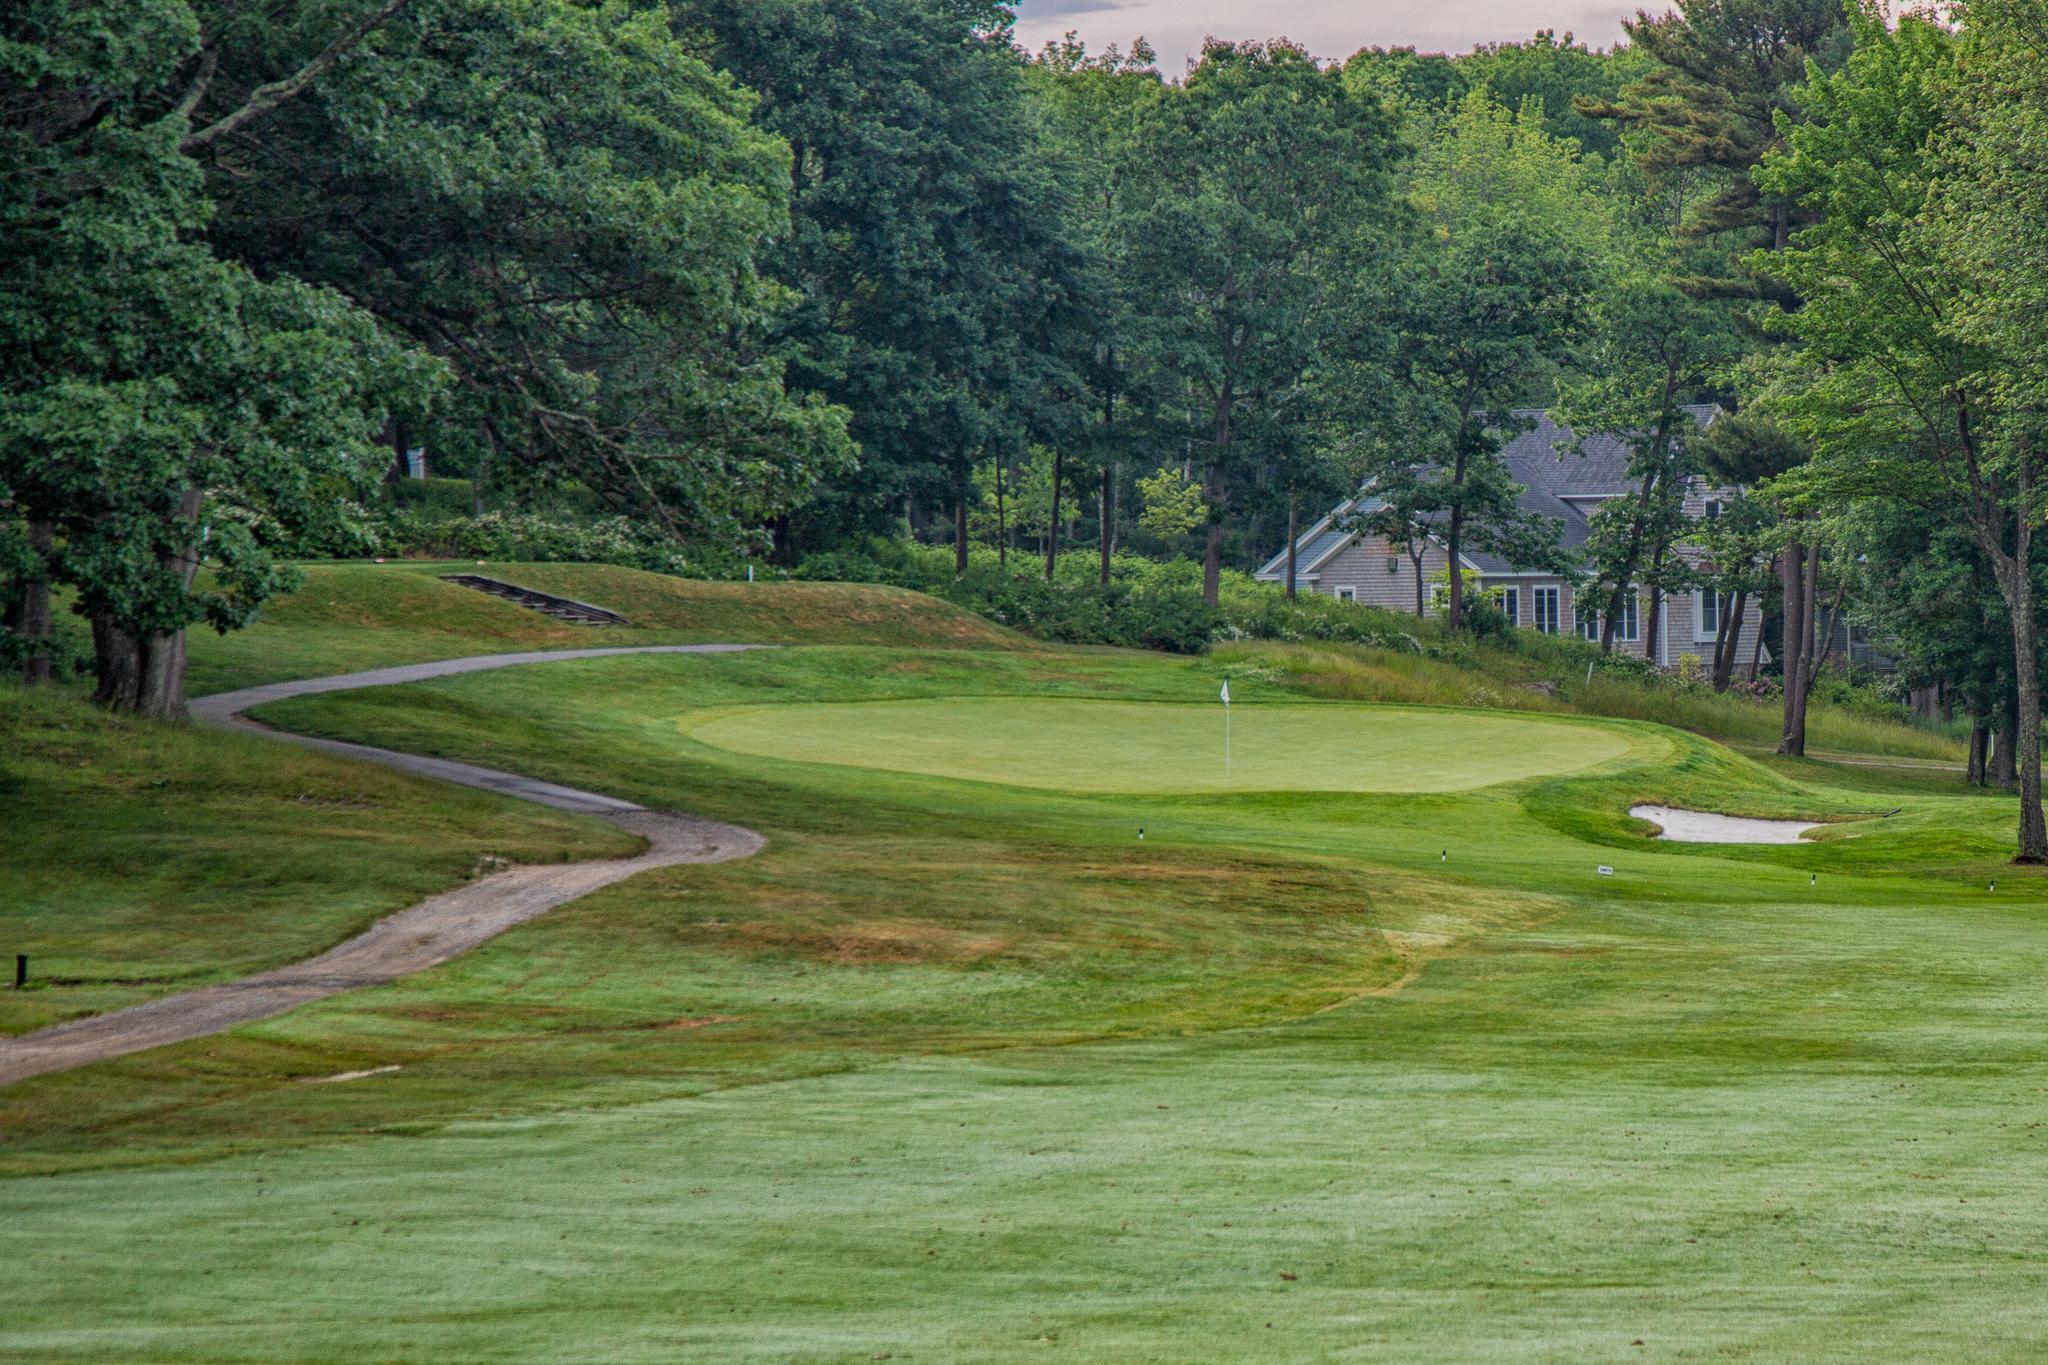
Hole Six:
Port View
A tricky short dog-leg left Par 4 that requires a well placed shot of about 200 yards to the right center of the fairway, then a delicate wedge to the green. When the pin is back left, this can be a challenging shot.
| Tees | Yards | Par | Handicap |
|
Blue
|
307 | 4 | 15 |
|
White
|
295 | 4 | 15 |
|
Red
|
238 | 4 | 15 |

Hole Seven:
Challenge
This hole requires a long left-of-center tee shot "over the hill" from the back tees. There's a big greenside bunker on the right and the green slopes right to left.
| Tees | Yards | Par | Handicap |
|
Blue
|
402 | 4 | 9 |
|
White
|
370 | 4 | 9 |
|
Red
|
330 | 4 | 9 |

Hole Eight:
Hodgkin's Pond
A short Par 5 that rewards long hitters. Otherwise, lay-up in front of the pond for a short iron to the green.
| Tees | Yards | Par | Handicap |
|
Blue
|
462 | 5 | 5 |
|
White
|
428 | 5 | 5 |
|
Red
|
399 | 5 | 5 |
Hole Nine:
Salt Marsh
This Par 3 requires a 215 yard shot from the back tees to a dome-shaped green that can be slippery. Don't get behind the big oak on the left.
| Tees | Yards | Par | Handicap |
|
Blue
|
215 | 3 | 13 |
|
White
|
200 | 3 | 13 |
|
Red
|
189 | 3 | 13 |
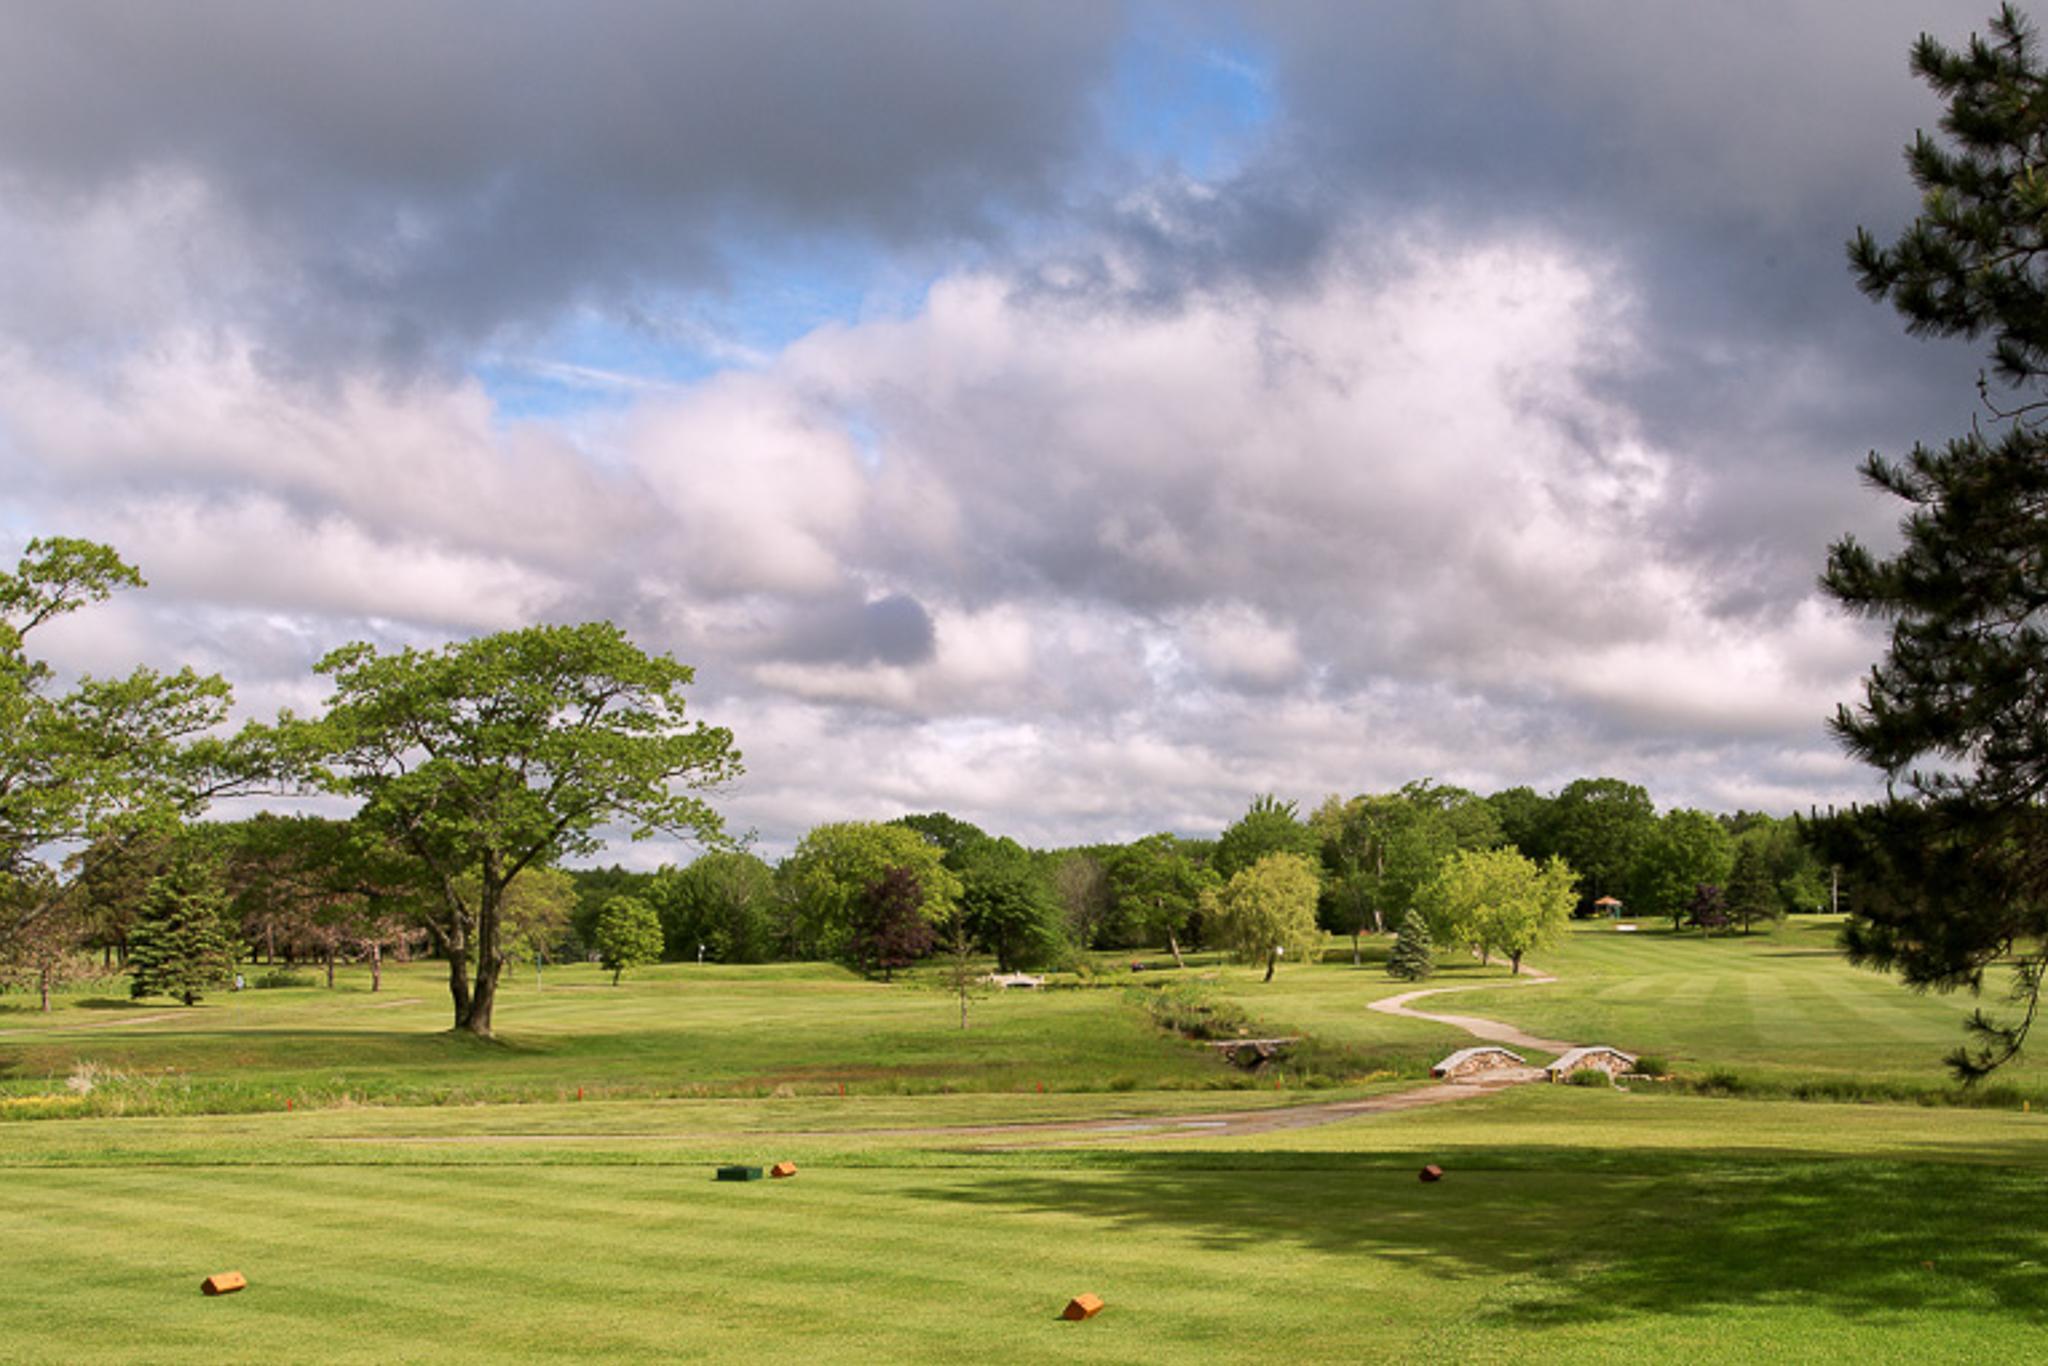
Hole Ten:
Ruthless
An elevated back tee offers a panoramic view of the course. This hole requires two well placed and long shots to get to the green in regulation.
| Tees | Yards | Par | Handicap |
|
Blue
|
420 | 4 | 2 |
|
White
|
390 | 4 | 2 |
|
Red
|
397 | 5 | 10 |
Hole Eleven:
Willows
A slightly elevated back tee offers a challenging mid-iron shot. Do not let the yardage miss lead you in deciding which club to choose.
| Tees | Yards | Par | Handicap |
|
Blue
|
147 | 3 | 16 |
|
White
|
142 | 3 | 16 |
|
Red
|
135 | 3 | 16 |
Hole Twelve:
Broadmoor
This Par 4 requires a tee shot in the left center of the fairway or you will be blocked out by the trees on the right. On your approach shot, note the bunkers behind the green.
| Tees | Yards | Par | Handicap |
|
Blue
|
402 | 4 | 4 |
|
White
|
390 | 4 | 4 |
|
Red
|
331 | 4 | 4 |
Hole Thirteen:
Eastward Ho
A straight-away tee shot but long hitters should consider the creek crossing the fairway. There are deep greenside bunkers left and right that can capture any missed approach shots.
| Tees | Yards | Par | Handicap |
|
Blue
|
379 | 4 | 8 |
|
White
|
370 | 4 | 8 |
|
Red
|
326 | 4 | 8 |
Hole Fourteen:
Uplands
A Par 5 that's usually played with a lay-up to the bottom of the hill, then a blind second shot to the right center of the fairway. Long hitters can try to clear the hill to reach the green in two. This green slopes dramatically left to right and is steep back to front. The approach shot has to land in just the right spot for any chance of a two putt par.
| Tees | Yards | Par | Handicap |
|
Blue
|
482 | 5 | 6 |
|
White
|
470 | 5 | 6 |
|
Red
|
420 | 5 | 6 |
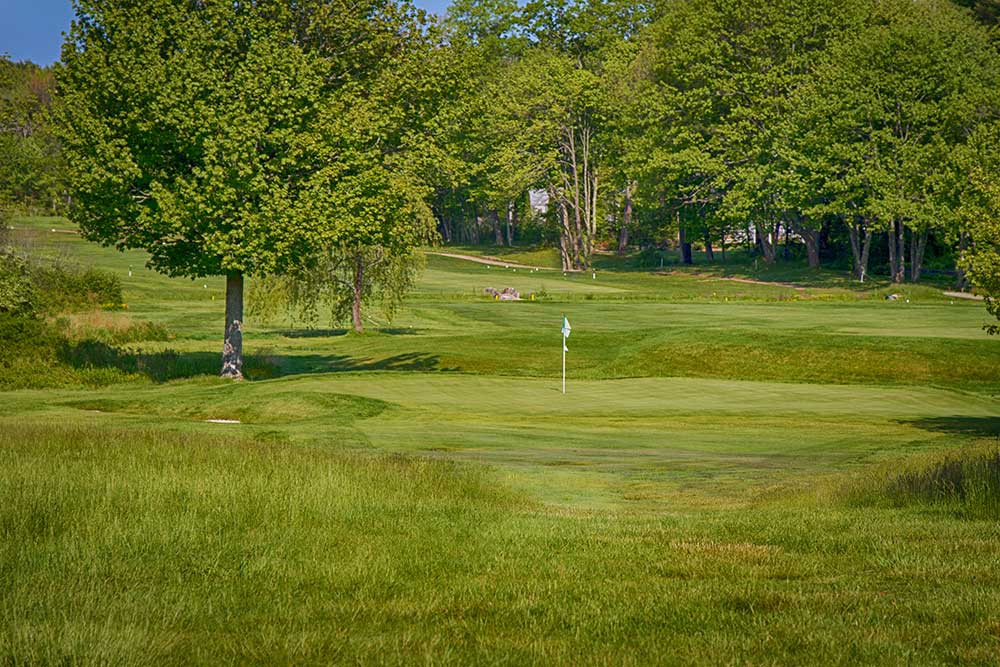
Hole Fifteen:
Pop's Pride
A pretty Par 3 edged with bunkers and also water on the left. This hole usually requires at least one extra club as the ocean breeze comes straight up the hill to the tee.
| Tees | Yards | Par | Handicap |
|
Blue
|
162 | 3 | 18 |
|
White
|
155 | 3 | 18 |
|
Red
|
140 | 3 | 18 |
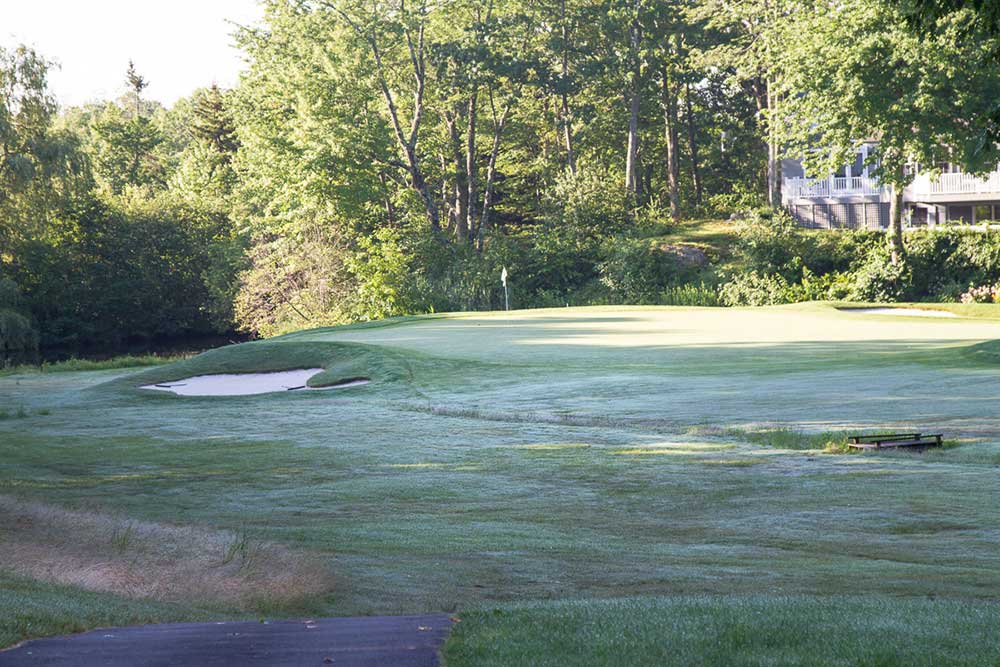
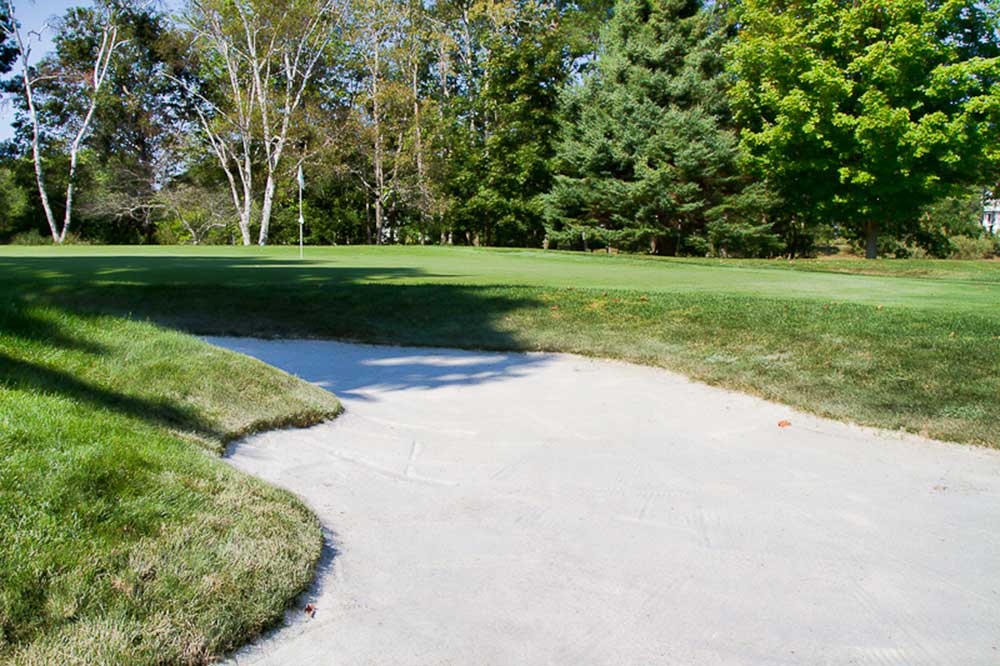
Hole Sixteen:
Sunset
A short Par 4 with big bunkers in front and on the left. A conservative shot to take the bunkers out of play is often best. The green slopes back to front and is fast, so stay below the hole on the approach shot.
| Tees | Yards | Par | Handicap |
|
Blue
|
290 | 4 | 14 |
|
White
|
280 | 4 | 14 |
|
Red
|
268 | 4 | 14 |
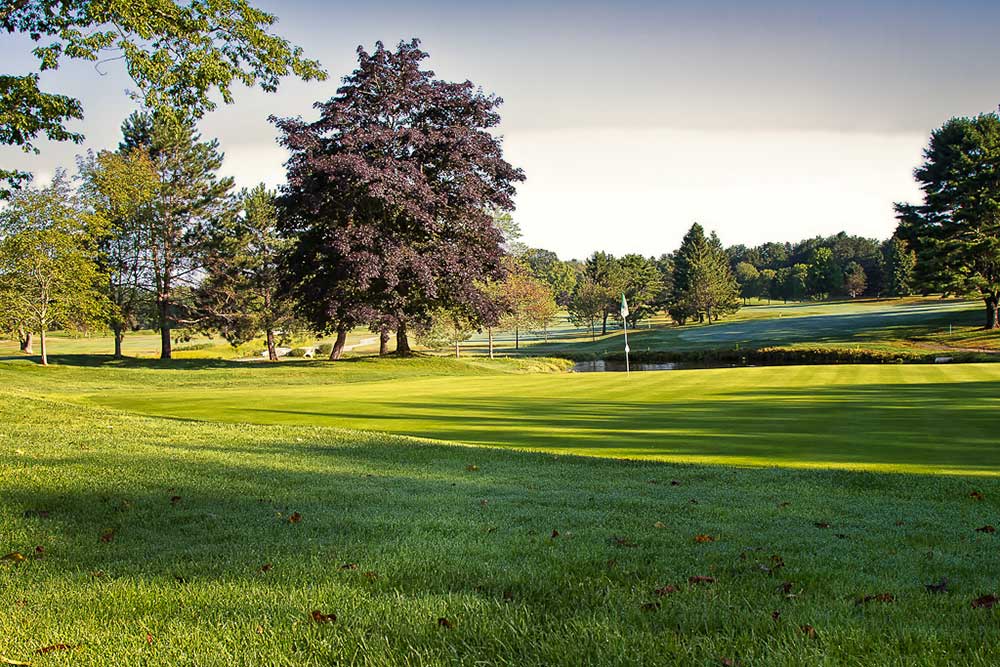
Hole Seventeen:
Sea Turn
This Par 5 is reachable in two for the daring golfer. Note the out-of-bounds left. The pond in front of the green suggests that most will lay-up with a wedge to the green.
| Tees | Yards | Par | Handicap |
|
Blue
|
450 | 5 | 8 |
|
White
|
421 | 5 | 8 |
|
Red
|
406 | 5 | 2 |
Hole Eighteen:
Home
Straight down the middle takes you back to the clubhouse. The green is elevated and into the prevailing wind, so an extra club is often needed. This is a birdie hole that can decide the match.
| Tees | Yards | Par | Handicap |
|
Blue
|
320 | 4 | 12 |
|
White
|
320 | 4 | 12 |
|
Red
|
318 | 4 | 12 |

